Here are some techniques, tips and tricks to improve your smartphone photography game. If professionals are doing it, we could do it too, right?
Chase Jarvis once said: “The best camera is the one that’s with you.” Going by his words, the best camera equipment for most of us is our smartphones.
It is therefore essential that we make the most out of them so as to capture all those “Kodak moments”. Going by a study conducted by Suite 48 Analytics, it seems that even a number of professional photographers agree with Jarvis. The study determined that 13% of the surveyed photographers take half or more their professional photos with their smartphones, while a staggering 64% of them use their smartphones for non-professional photos.
Using a smartphone camera
Smartphone cameras have come a long way since 1999, which by the way, was the first year we first put a camera inside of a commercial phone. The Japanese company Kyocera, was the first to do so in May of 1999 with their interestingly named mobile phone, the Visual Phone VP-210.
Given that two decades have passed since then, smartphone manufactures have had plenty of time to refine the tech and provide us with some remarkable sensors.
Giving your smartphone camera photos a professional touch
We already discussed the general qualities of a good photograph earlier. Always remember them whenever you’re shooting as these elements can break or make your photography:
- Lighting and Exposure
- Color and tone
- Composition and the “Rule of Thirds”
- Timing
The good thing is that these are universal qualities and they can be applied to whatever camera gear you’re using. You can implement these elements to your smartphone photography too so as to give your photographs that much needed professional touch.
Remember, you are the key to a good photograph, you have to take advantage of the equipment, scenery and subject to paint the perfect picture!
Learn to work the camera
Improving the camera is a good trick that smartphone manufacturers use to woo in new customers. As such, you should pay attention to each improvement and updates sent your way.
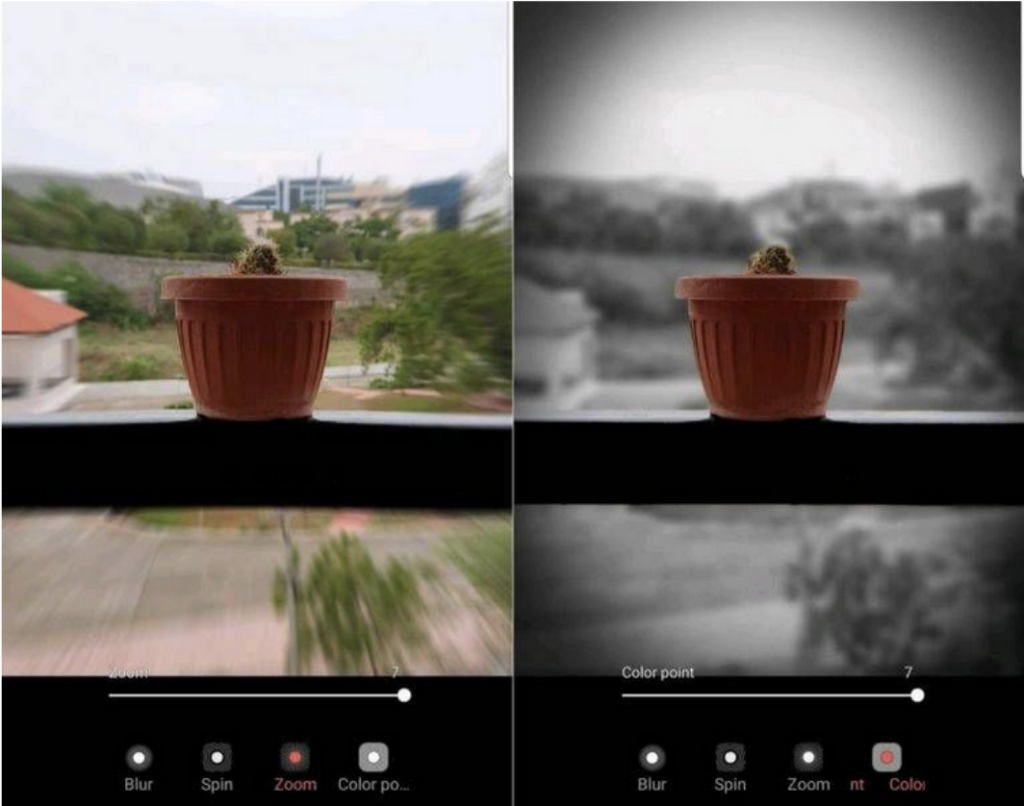
Smartphone photography heavily depends on good post processing by the software itself therefore updates can usually improve your camera’s performance.
These can include simple tweaks in the image processing algorithm to new camera modes such as advanced portrait photography, normally called ‘selective focus’ or ‘live focus’.
Switch to manual
Most flagship phones have a “Pro” feature in the camera menu. These allow for finer controls of the camera and provides you with the experience previously reserved for standalone camera gear.
Even if your camera doesn’t have this mode, it probably still allows you to save image files as RAW as opposed to the default JPEG. Some benefits that RAW has over JPEG is the ability to store much more sensor data as compared to JPEG. For example, JPEG can only store 256 brightness levels, whereas a RAW image file can store up to 16,384 levels, insane! To take full advantage of RAW files, you will need an image editor (see below).
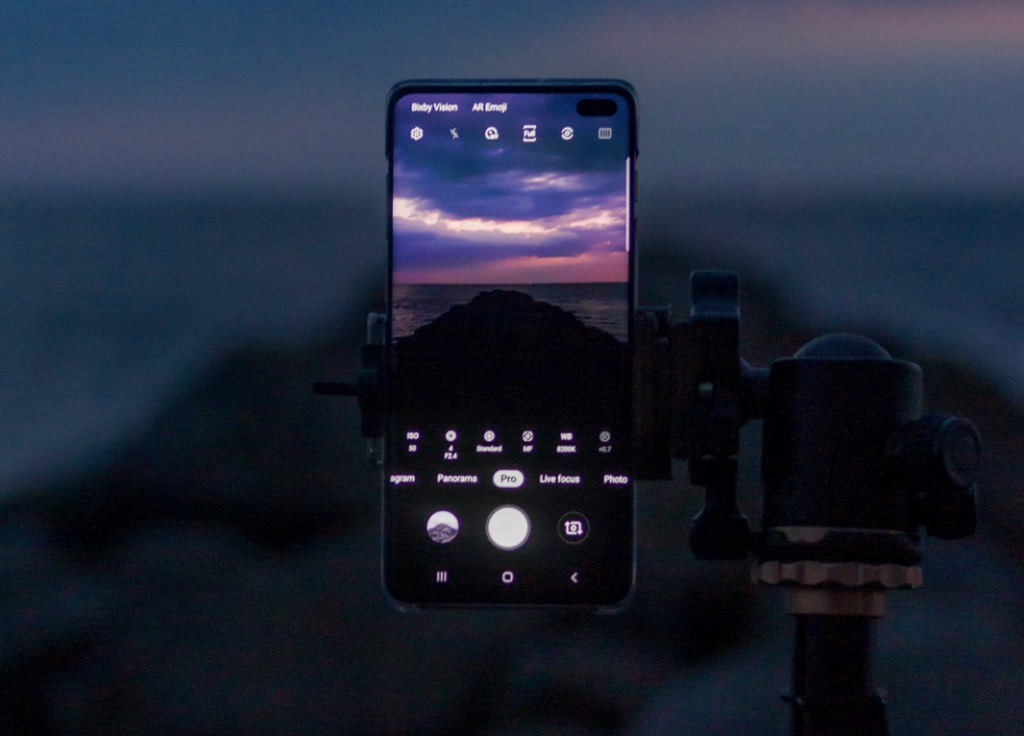
For example, on a Samsung device, Pro mode allows you to adjust the following controls:ISO: This controls the light sensitivity of the camera sensor. Low values are great for bright scenes and still objects whereas higher values are preferred for low light environments or action scenes with fast paced movements. Keep in mind that higher ISO settings might result in noise.
ISO
This controls the light sensitivity of the camera sensor. Low values are great for bright scenes and still objects whereas higher values are preferred for low light environments or action scenes with fast paced movements. Keep in mind that higher ISO settings might result in noise.
Aperture & Shutter Speed
Slow shutter means more light gets to the sensor hence more brightness, this is suitable for night conditions. Fast shutter speed is best for fast moving objects.
Color & Tone
This allows you to adjust the color aspects of the image such as temperature, contrast and saturation.
Focus
This changes the camera’s focus point from foreground objects to those further in the back.
White Balance
This is basically like a color filter and lets you choose a suitable color that compliments your scene.
Exposure
This controls how much light enters the camera’s sensor. For bright scenes use low exposure and vice versa.
Post edit
If you want your photographs to stand out, you too will need to edit like a pro. Instagram filters is a great example of post processing software that we are already used to.
Most smartphones have an Edit option in the gallery app that allows you to adjust simple aspects like brightness and color to an image. If you want more control, both app stores are full of great apps that let you fine tune tons of elements of your photographs. Here’s a few of the favorites.Snapseed: Praised by a lot of professionals thanks to its many tools and filters. It is free and available for both iOS and Android.
Snapseed: Praised by a lot of professionals thanks to its many tools and filters. It is free and available for both iOS and Android.
VSCO: VSCO Provides a lot of fun filters to play with plus all the usual editing tools for more serious work. It is also free and available on both iOS and Android.
Adobe Photoshop Express: A must have for those who have experience with the desktop app. The mobile version brings a slew of tools that we are already familiar with. Free to use with a free Adobe account. Available on both platforms.
Practice makes perfect and I have never encountered a scenario where the saying doesn’t apply. So, if you are a beginner photographer looking to go pro, practice is your best teacher.

